|
To install ONESOURCE Excel Add-in:
| 1. | In the Explorer window that appeared when you extracted exceladdinsetup.zip, exceladdinsetup, double-click the setup icon. One or more messages may appear, depending upon your system's configuration. |

| • | If a message appears asking if you want to allow the program to make changes on your workstation, click Yes. |
| • | If a dialog appears asking if you want to Accept the terms of the license agreement, click Accept. |
| • | If a dialog appears asking if you want to install one or more required components on your system, click Install. |
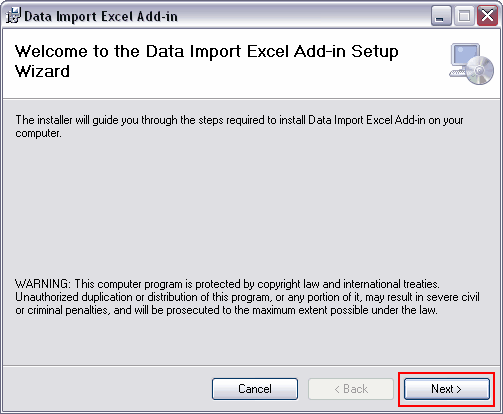
| 2. | Follow the instructions in the Setup Wizard to install ONESOURCE Excel Add-in. When the first step of the ONESOURCE Excel Add-in Setup Wizard appears, click Next. |
| 3. | To install to the default folder, click Next. To install to a different folder, select Browse. |

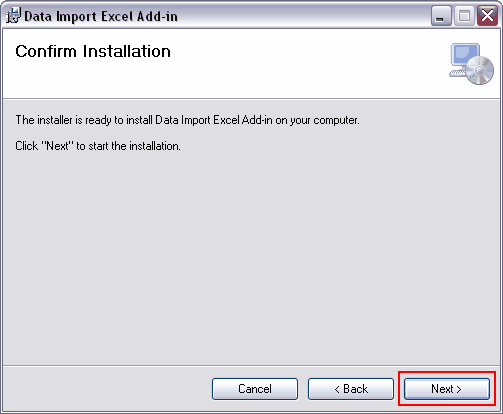
| 4. | To confirm the installation, click Next. |
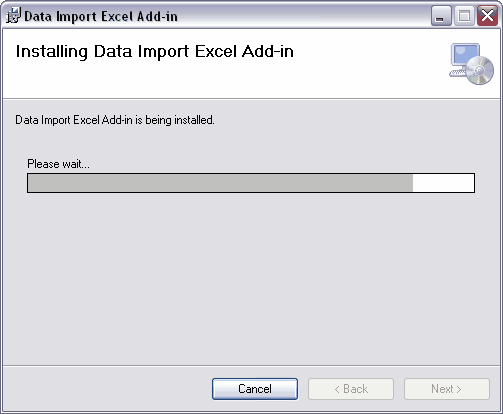
A dialog appears showing the progress of the installation.
| 5. | When the installation is complete, click Close. |
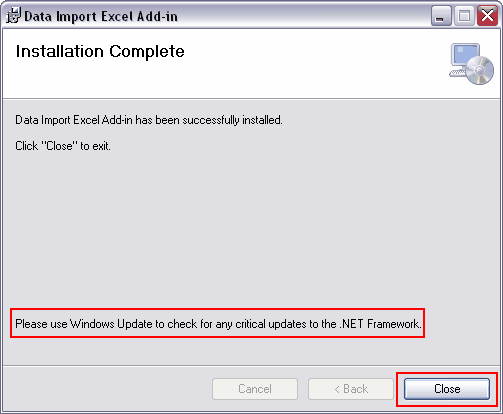
Note: You will use Windows Update to check for .NET Framework critical updates.
|


