|
Accessing the Return Worksheet
| 1. | Select Data Transfer in the Navigator tree. |
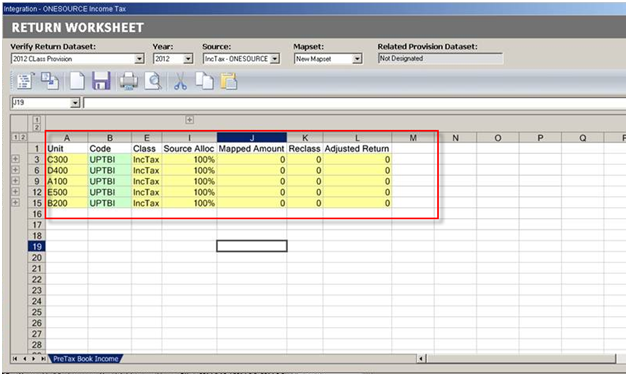
| 2. | Select ONESOURCE Income Tax. The "Return Worksheet" opens. |
| • | The "Return Worksheet" is a staging area for the ONESOURCE Income Tax data. |
| • | The return worksheet will have separate tabs for the transferred data. |
| • | Within the return worksheet, you can update the adjustment type and reclass data. This is the data highlighted in green. |
3. Verify that the Return Dataset is correct.
| • | The return dataset is a dataset specifically created for entering return data. |
| • | The return dataset is populated with the data transferred from ONESOURCE Income Tax. |
4. Review the Year.
| • | The year can be changed if needed. |
5. Choose a Source Dataset from the list.
| • | If the return dataset uses classes, the default source value for the class is IncTax – ONESOURCE Income Tax |
| • | If the return dataset uses tags, the default source value for the tag is A. |
6. Select the Mapset.
| • | Mapsets are created on the ONESOURCE platform. |
| • | Select Menu and then Mapping to map ONESOURCE Income Tax to ONESOURCE Tax Provision. |
| • | Select Help for additional assistance with mapping ONESOURCE applications. |
7. Review the Related Provision Dataset and verify that it’s the dataset you want to compare to the return data.
| • | Dataset relations are set up in Administration within Manage Datasets in the Dataset Relations tab. |
Check that the following fields are correct:
| • | Source from the drop-down list. |
| • | Related Provision Dataset. |
| 1. | Click Retrieve Return Data. |
| 2. | Select Populate State Rates or Populate Income Tax Data. |
| 3. | Click Populate Data to Provision. |

| 4. | Review the Return Dataset. |
Return Worksheet Example

| 


